
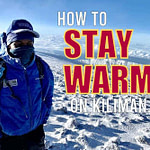


Summit night on Mount Kilimanjaro is definitely the most challenging part of climbing Kilimanjaro. The ascent to the summit followed by the descent to the last campsite is a very long day, comprised of about 6-8 hours up and 4-6 hours down. But, this can take much longer depending on your hiking speed.
Here are 10 tips that will make summit night a bit easier.
1. Stage Your Summit Gear the Night Before
Summit attempts typically start around midnight. What you don’t want to do is have to rush while putting on all of your clothing layers and organizing everything you need. That’s going to cause a lot of unnecessary stress and increase the chances of you forgetting something essential.
Instead, on the evening before your summit attempt, lay out all your clothing and pack your snacks, water and gear. Organize your belongings in the same manner as you have been for the entire trip so everything is easy to find. You don’t want to wonder which pocket or stuff sack an item is in while hiking in the dark.
2. Choose the Right Kind of Snacks
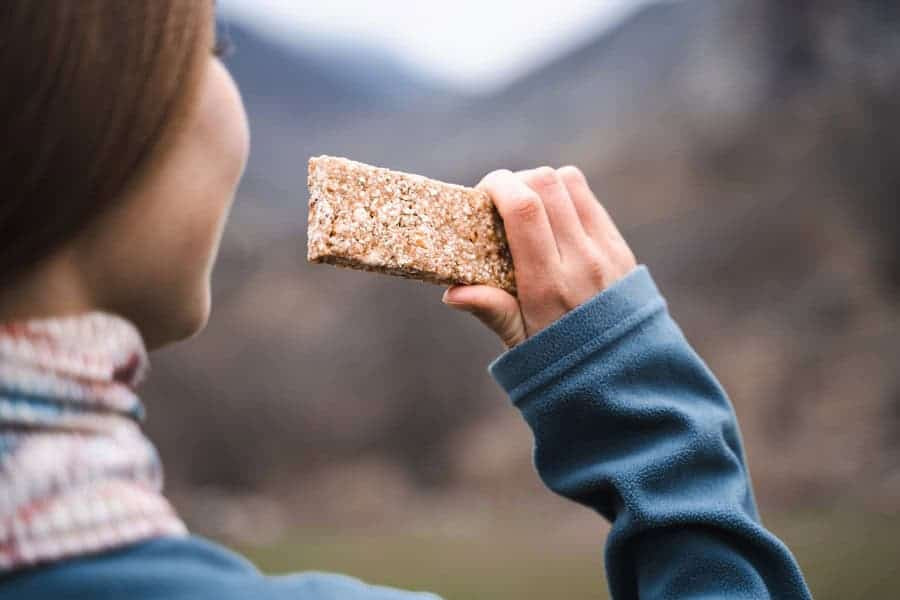
Due to the icy temperatures, certain types of snacks can become nearly inedible. Anything with a high water content can freeze and harden. Trying to eat a Snickers or protein bar is going to feel like gnawing on a brick. So carry some snacks that are not going to be affected by the cold. Cookies, nuts, jerky, trail mix, and dried fruit are good snacks for the ascent.
3. Avoid Caffeine Before the Climb

Because the summit bid starts in the early morning, climbers go to bed early—around 7 PM. As you might imagine, it’s hard to fall asleep due to the time, altitude, and excitement of summit day. Reduce your caffeine intake or steer clear of caffeine or any other stimulants altogether on this day. Even 2-3 hours of sleep will give you more energy. If you can’t sleep at all, don’t worry. Many people don’t get any sleep and still make it to the top.
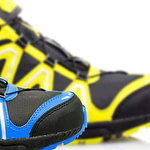
4. Don’t Over Tighten Your Shoes
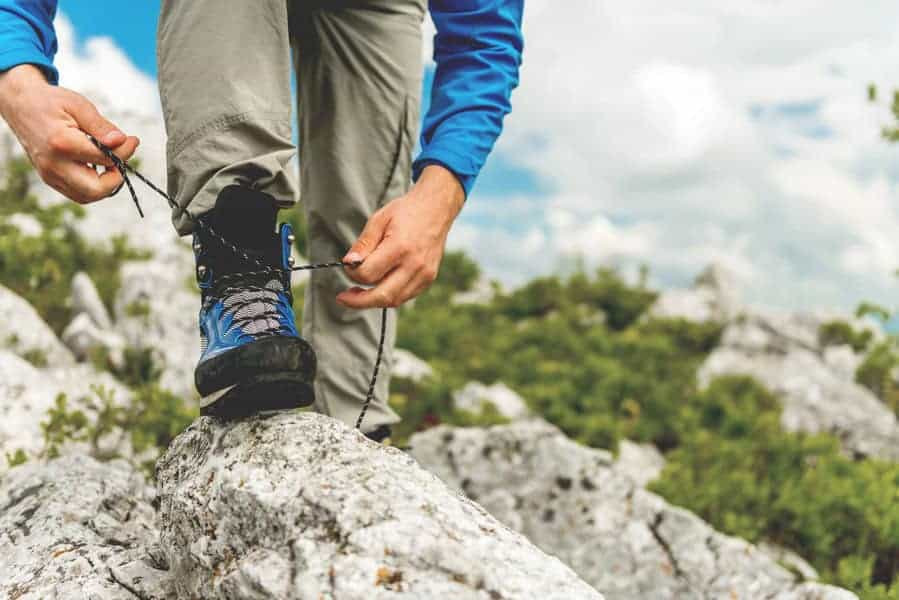
One thing people do when trying to avoid cold feet is that they lace their footwear really tight, thinking that it will trap warm air in the shoe and keep the cold air out. This is a mistake and is actually counterproductive. What actually happens is that lacing your footwear tightly, especially across the top of their foot, restricts the blood flow to your toes. This cuts off the circulation and leads to colder feet. Tie your shoes securely and firmly, but not too tight.
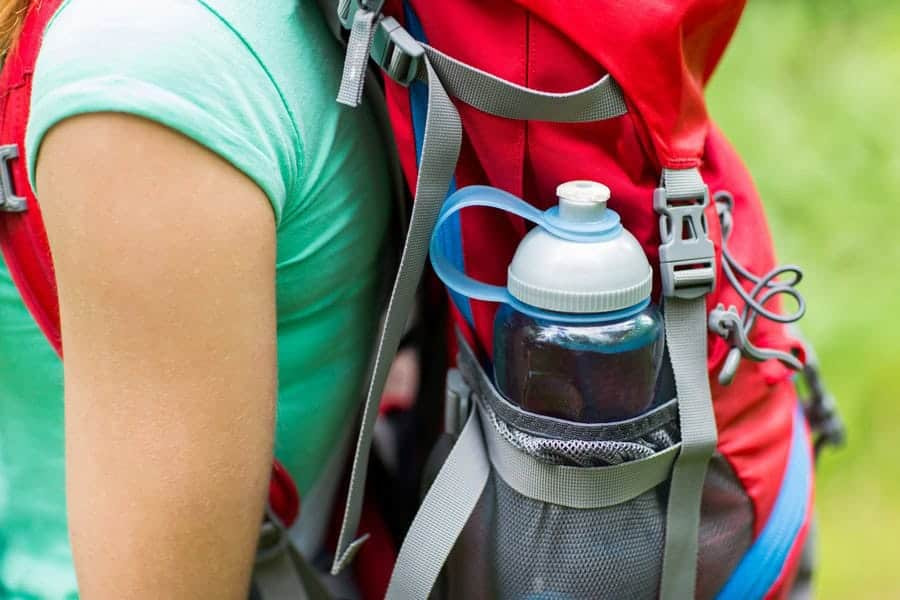
5. Carry Water Bottles Upside Down
Night time temperatures on the way to the summit vary between 20°F to -20°F (-6°C to -29°C). This can cause the water you carry to freeze. Many climbers suggest keeping your water bladder functional by blowing the water back into the tube, but this is impractical. It takes too much effort after every sip, and if you don’t get all the water out the tube, it will freeze. Additionally, other components like the valve and cap can freeze.
Instead, rely on water bottles for the ascent. Carry them upside down so any ice that forms will occur at the top, away from the cap, allowing you to access the liquid water.
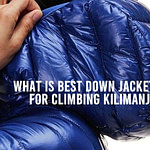
6. Layer Your Clothing Correctly

Typically, on summit night, hikers wear four to six layers on the upper body. These layers consist of:
- 1-2 base layers
- 1-2 soft shell/fleece jackets
- hard shell/waterproof jacket
- down jacket
The order in which the layers are presented is the order in which you should be wearing them – with the base layers first, followed by the soft jackets and the waterproof shell, and topped off by the down jacket. The down jacket goes over your hard shell. It is the outermost layer.
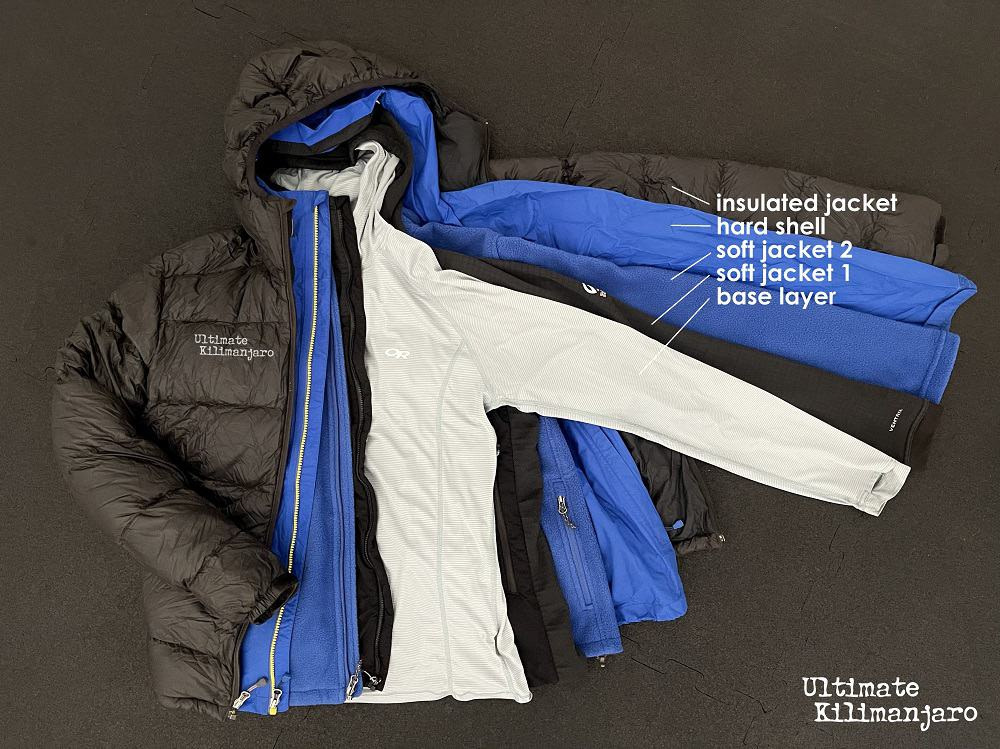
This is standard practice in alpine mountaineering, as the down jacket is only worn during the coldest conditions, below freezing temperatures. Keeping it dry is not a concern as the temperature is too cold for rain or snow.
Typically, you hike to the summit with your hardshell as the outer layer and put your down jacket to stay warm during rest breaks. Before sitting down, put your down jacket on over all your existing layers. Handle other gear adjustments, eat, and drink. Just before starting to hike again, take off the down jacket and stow it in your daypack. This ensures you stay warm during breaks without overheating while hiking.
7. Use Trekking Poles
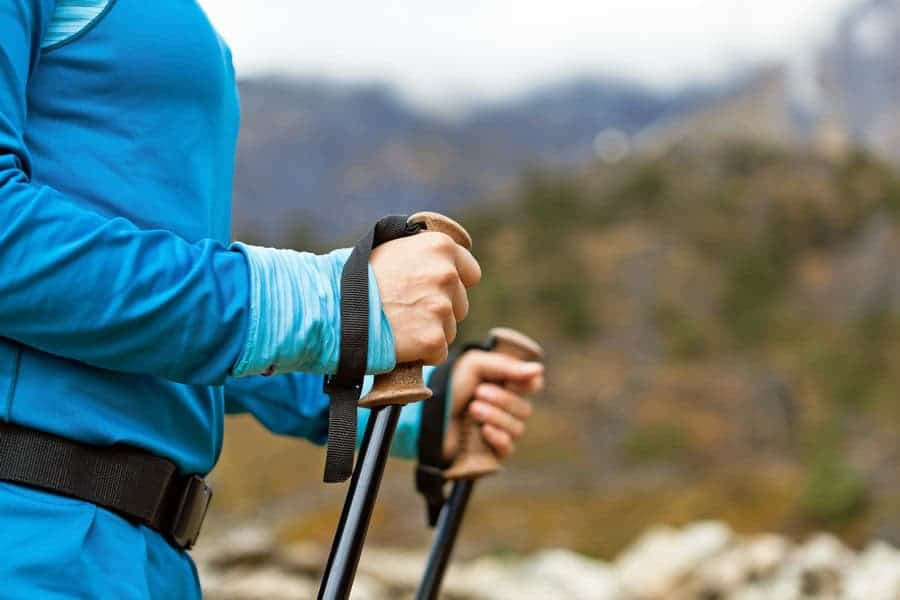
Trekking poles offer real advantages when climbing Mount Kilimanjaro.
They provide extra support, helping to maintain balance and reduce the risk of falls. By engaging your arms, trekking poles distribute the workload across your body. This conserves energy, making it easier to sustain the slow, steady pace needed to reach the summit. On the steep descent, which is the most physically strenuous part of the climb, they reduce the strain on your legs, joints and feet. Therefore, we highly recommend using trekking poles throughout your climb. They are particularly beneficial on the way to the summit and especially on the way down.
8. Don’t Quit at Halftime

When undertaking a challenging endurance activity, such as climbing Kilimanjaro, individuals often experience various psychological stages. These stages can sometimes overlap or occur in a different sequence, but a common progression goes something like this.
- Excitement
- Anxiety
- Doubt
- Fatigue
- Wanting to Quit
- Determination
- Renewed Focus
- Relief and Triumph
The initial excitement is driven by adrenaline and enthusiasm. As the challenge progresses, anxiety and doubt can set in, influenced by the mental and physical demands of the activity. Fatigue then becomes a major factor, requiring determination to push through. The temptation to quit often arises when the effort seems overwhelming, but many find a renewed focus or “second wind” that helps them continue. Finally, reaching the goal brings a profound sense of relief and triumph.

Understanding these stages allows you to anticipate them, so you’re not taken by surprise if feelings of doubt, fatigue and wanting to quit arise. We’ve noticed that this happens to people about halfway to the summit, between 3 and 4 AM. This is when the effects of sleep deprivation, hiking uphill, cold weather, and high altitude become oppressive.
When the guide says, “We are halfway there,” it can really take the wind out of people’s sails. The halfway mark makes it a psychologically acceptable turnaround point for people who are thinking about quitting. It feels more justifiable to quit here than at the start or near the summit.
But don’t quit here. Your mind is playing tricks on you. Turning around at the halfway point means you still have to descend to high camp before you get relief. In about the same time it takes to reach your tent, you can reach the summit. The sunrise is a big morale booster. You can finally see the beautiful views. The temperature rises and the excitement of being at the summit and seeing the glaciers gives you a burst of energy. The descent to camp is relatively fast and easy. Therefore, don’t turn around at the halfway point. Find your determination and a renewed focus to continue.
9. Make Gear Adjustments at Summit
When you reach the summit, it’s a time to celebrate with your teammates. You’ll want the obligatory photo in front of the Uhuru Point sign, proving you just climbed the highest mountain in Africa. However, don’t overlook the long descent ahead.
Before you start hiking down, take some time to prepare by making necessary gear adjustments. Remove your warm hat and headlamp, replacing them with a cap and sunglasses. Apply sunscreen to exposed skin, reapply lip balm, extend your trekking poles, and perhaps shed a layer or two. Be mindful of how you feel throughout the descent and continue to make adjustments as needed. Remember that the descent is going to take many hours, so fix any issues then and there before they become bigger problems.
10. Tighten Laces Before Descent
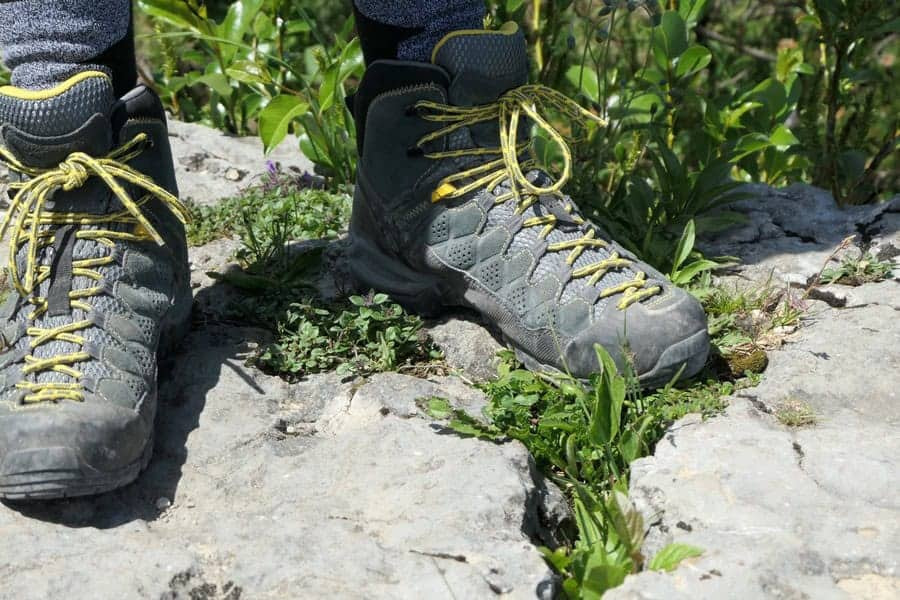
In a previous tip, we stated that you should to tie your shoes normally for the summit. But for the descent, you’ll want to tighten them up. Having a tighter fit will help keep the rocks out of your shoes, but more importantly, it will reduce the movement of your foot in the shoe as you go down.
“Toe bang” is a name for a common hiking injury where the toes repeatedly hit the front of the boot during descents, leading to bruising, pain, and sometimes loss of toenails.
To prevent this, your foot needs to be secured to stop it from sliding forward. Performing a heel lock with your lacing will help heel slippage and reduce excessive movement.

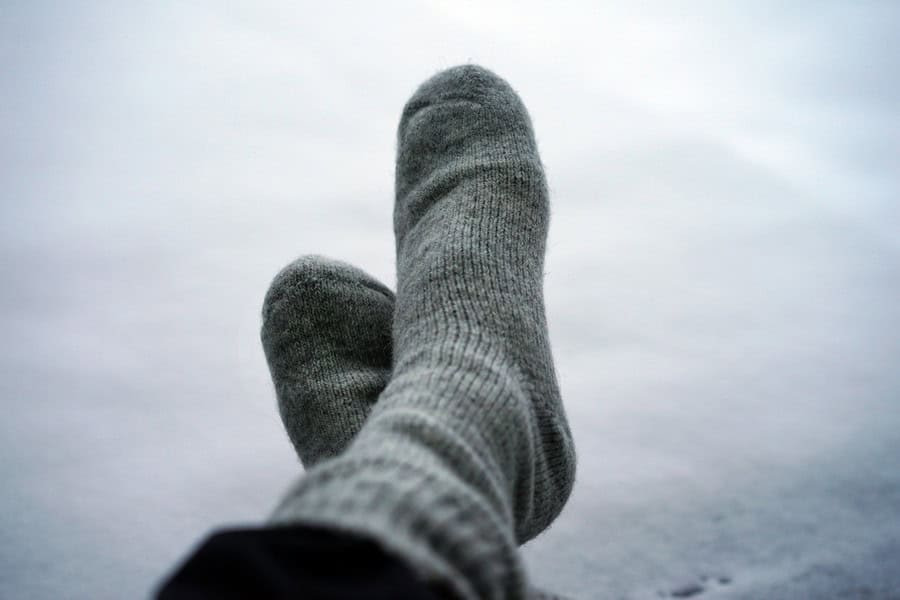
Some climbers use heavy duty, expedition-weight socks to battle the cold during the summit. However, we are not a fan of thick socks on Kilimanjaro as they have the potential to do more harm than good.
Unless you account for the use of thick socks when you size your footwear, they will alter the overall fit, making your shoes or boots tighter, less comfortable, and more prone to rubbing. They reduce the space in the toe box, making toe bang more likely and they also retain more moisture. This, along with the reduced circulation, can actually make your feet feel colder. Collectively, these factors are a recipe for foot problems.
The key to keeping your feet warm is to first make sure your core is warm.
When your core temperature drops, your body’s physiological response to prevent hypothermia is to reduce blood flow to the extremities, which is why the hands and feet are the first to get cold. But, if you’re properly layered from top to bottom, you shouldn’t have to do anything special to keep your feet warm. That means no foot warmers, no doubling up on socks, or wearing heavy socks.
That said, if you’re not convinced and you‘re dead set on wearing thick socks for the summit, make sure you try them out with your intended footwear on a long day hike with a substantial downhill section. Be sure that they don’t impede the fit of your shoes or boots to a point of discomfort.
Ready to book your Kilimanjaro climb? See our dates & prices.


")
")
